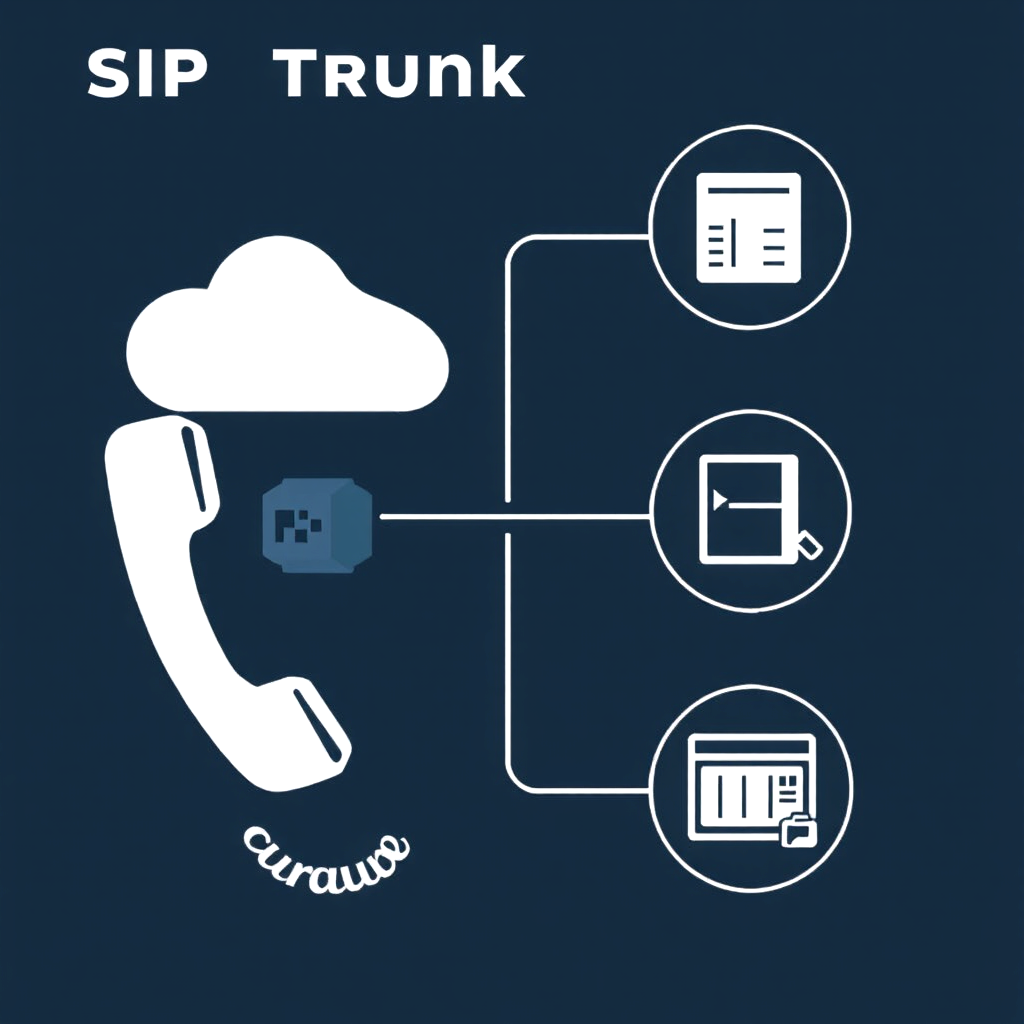
Configuring a SIP (Session Initiation Protocol) trunk is an essential task when setting up Voice over IP (VoIP) systems for businesses. SIP trunks allow you to connect your business phone system (usually a Private Branch Exchange or PBX) to the public switched telephone network (PSTN) through the internet. This setup replaces traditional phone lines with a more flexible and cost-effective IP-based solution.
Here’s a step-by-step guide to configuring a SIP trunk:
1. Obtain SIP Trunking Services
The first step in configuring a SIP trunk is to choose a SIP trunk provider that fits your business needs – this is where Athena Networks comes in. We will give you the necessary credentials (username, password, SIP server address) to establish the connection between your PBX and their network.
2. Ensure Compatible PBX System
Ensure that your PBX system supports SIP trunking. Most modern PBX systems (especially IP-PBXs) come with SIP trunking capabilities out of the box. If you’re using an older, on-premises PBX system, you may need to install an IP gateway to handle SIP communications.
Popular PBX systems with SIP trunking capabilities include:
- Asterisk
- FreePBX
- 3CX
- Cisco Unified Communications Manager (CUCM)
- Avaya IP Office
If you don’t have an IP-PBX or need help with an older PBX, check with your PBX provider to ensure compatibility with SIP trunks.
3. Set Up the Network
Make sure that your network infrastructure is ready for SIP trunking. VoIP communication over SIP requires a stable, high-quality internet connection with sufficient bandwidth to handle the number of simultaneous calls you expect to make.
- Check Bandwidth Requirements: Typically, a VoIP call uses 85-100 kbps of bandwidth per call. Make sure your network has enough capacity for peak usage.
- Prioritize VoIP Traffic: Configure Quality of Service (QoS) settings on your router to prioritize VoIP traffic. This ensures voice packets are prioritized over other types of data, reducing latency and improving call quality.
- Open Firewall Ports: SIP trunking requires specific ports to be open on your firewall:
- Port 5060: This is the default port for SIP signaling.
- RTP (Real-Time Transport Protocol) ports: SIP uses RTP for audio transmission. RTP port ranges are typically from 10000 to 20000.
Check with your SIP provider for any additional ports that need to be opened for their specific setup.
4. Configure the SIP Trunk on Your PBX
After your network is prepared, it’s time to configure the SIP trunk within your PBX system. Here’s how to set it up on some common PBX systems:
Asterisk/FreePBX
- Login to FreePBX Admin Interface.
- Navigate to Connectivity > Trunks.
- Click Add Trunk and select SIP (chan_sip) or PJSIP (chan_pjsip) depending on your provider’s protocol.
- Enter the following information:
- Trunk Name: Give the trunk a name (e.g., SIP_Provider).
- Outbound Caller ID: Configure the outbound caller ID, usually provided by your SIP provider.
- SIP Server/Proxy: Enter the SIP provider’s server address.
- Username and Password: These are provided by your SIP trunk provider.
- DID Number: Direct Inward Dialing (DID) numbers, also provided by your SIP trunk provider.
- In the Outgoing Settings section, add the SIP server details and authentication credentials.
- In the Incoming Settings section, configure how calls should be routed into the PBX.
- Save and apply changes.
3CX PBX
- Login to the 3CX management console.
- Go to SIP Trunks > Add SIP Trunk.
- Select your SIP provider from the list or choose a generic provider if it’s not listed.
- Enter the SIP server address, username, and password provided by your SIP trunk provider.
- Set up your DID numbers and configure call routing (i.e., where incoming calls will be directed).
- Click OK to save.
Cisco CUCM
- Log in to the Cisco Unified CM Administration interface.
- Navigate to Device > Trunk.
- Click Add New and select SIP Trunk from the list.
- Enter the Trunk Name, Device Pool, and select the SIP Profile.
- In the Destination Address field, enter your SIP provider’s server IP address or domain.
- Configure Inbound and Outbound Calling Rules as needed.
- Save and apply changes.
5. Configure Dial Plans
A dial plan determines how outbound calls are routed through the SIP trunk. For example, you might route local calls through the SIP trunk provider while routing international calls through a different carrier.
To configure dial plans:
- Define how local, national, and international calls should be handled.
- Configure prefixes for different types of calls (e.g., prepend a “9” for external calls).
- Ensure that emergency numbers (such as 911) are properly routed.
Dial plans can typically be configured in the PBX admin interface under outbound routes or call routing.
6. Test the SIP Trunk
Once the configuration is complete, test the SIP trunk to ensure it’s working correctly. Place outbound calls to different numbers (local, national, international) and ensure they’re routed correctly. Also, test inbound calls to make sure they’re reaching the intended destination.
- Check Call Quality: Verify the audio quality, ensuring there is no delay, jitter, or dropped calls.
- Test Failover: Some SIP trunks offer failover capabilities. Test to ensure that if the primary trunk fails, calls are rerouted correctly.
7. Monitor and Optimize
Once the SIP trunk is live, monitor its performance to ensure optimal functionality. This includes:
- Call quality monitoring: Use built-in PBX tools or third-party solutions to monitor call quality metrics such as jitter, packet loss, and latency.
- Call routing adjustments: Adjust routing patterns based on call traffic to balance loads or manage costs.
- Security monitoring: Regularly check for potential security threats like unauthorized access, toll fraud, or spam calls.
Conclusion
Configuring a SIP trunk involves several steps, from choosing the right provider to setting up the PBX system, configuring network infrastructure, and testing the solution. Once properly configured, SIP trunking offers businesses significant advantages, including cost savings, scalability, flexibility, and improved call quality. By following these steps and ensuring proper network and security configurations, your business can leverage SIP trunking for a modern, efficient, and cost-effective communication system.